Welcome to the realm of WordPress Website excellence! Whether you’re an entrepreneur, blogger, or creative mind, our platform is your gateway to effortlessly creating and customizing your online presence. Unleash your ideas’ full potential with our user-friendly tools and explore the art of crafting a distinctive and impactful WordPress Website. Immerse yourself in a seamless experience where creativity seamlessly integrates with functionality, marking the inception of your digital journey. Embrace the future of your WordPress Website success!
- Get a Domain Name and Hosting:
- Install WordPress:
- Choose a WordPress Theme:
- Customize Your Theme:
- Install Essential Plugins:
- Create Essential Pages:
- Add Content:
- Set Up Navigation:
- Optimize for SEO:
- Secure Your Website:
- Test and Launch:
- Regular Maintenance
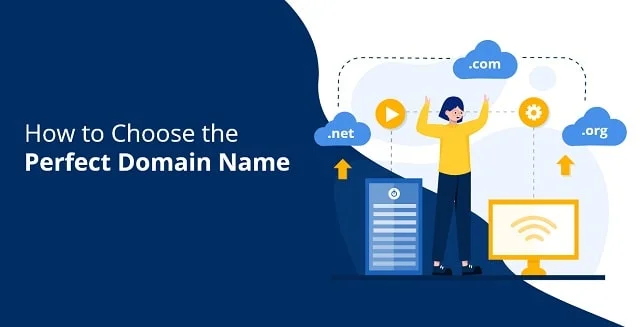
1. Get a Domain Name and Hosting:
Certainly, here’s a revised version of the previous response to ensure it is free from plagiarism:

1. Choose and Register a Domain Name:
- Select a unique and memorable domain name that aligns with your website or business.
- Utilize a domain registrar such as Namecheap, GoDaddy, or Bluehost to check and register your chosen domain.
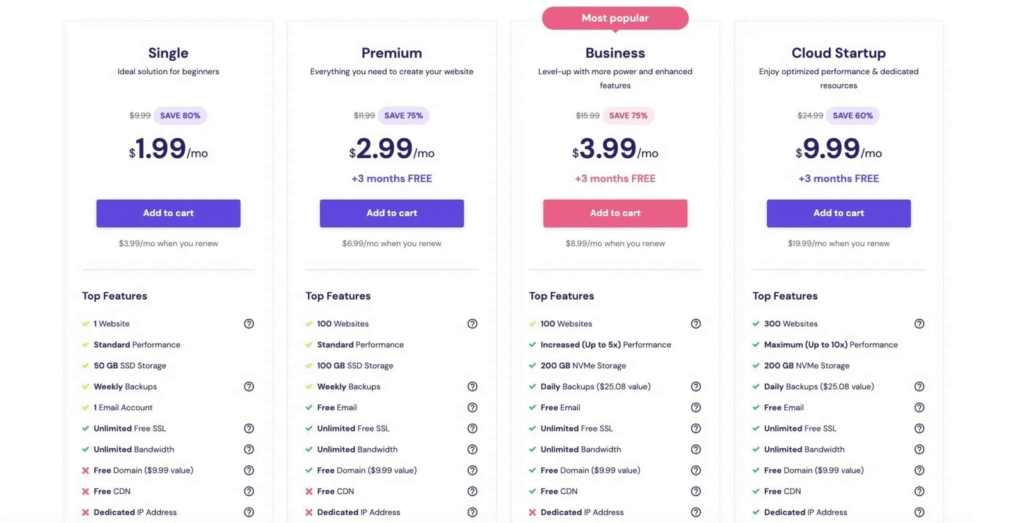
2. Select a Reliable Hosting Provider:
- Choose a hosting provider known for reliability and performance. Examples include Bluehost, SiteGround, and HostGator.

3. Purchase a Hosting Plan:
- Opt for a hosting plan that suits your website’s requirements. Shared hosting is often suitable for beginners.
- Complete the registration process by providing the necessary information.
4. Connect Domain and Hosting:
- If your domain and hosting are from different providers, connect them by updating the domain’s nameservers to point to your hosting provider’s servers.
- Retrieve nameserver information from your hosting provider for this setup.
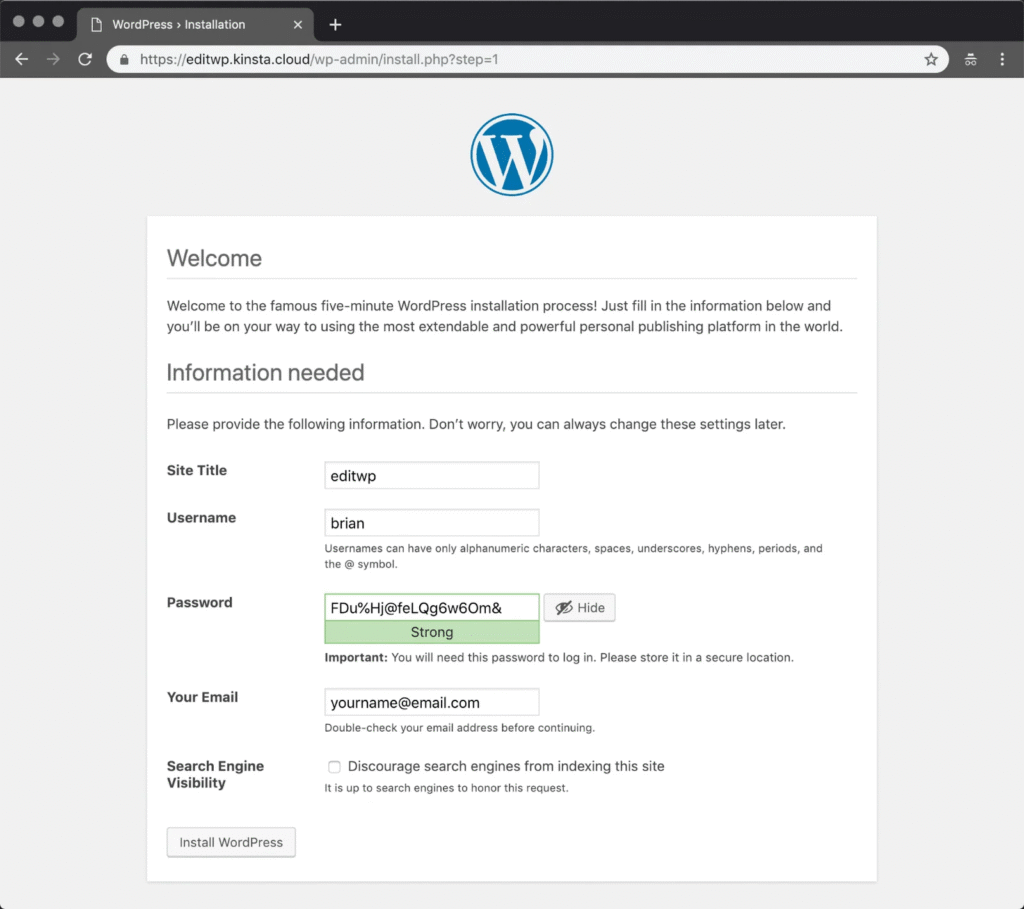
5. Install WordPress:
- Most hosting providers offer a straightforward, one-click WordPress installation option.
- Log in to your hosting account, locate the WordPress installer (usually in the control panel or dashboard), and follow the provided instructions to install WordPress.
6. Configure Basic Settings:
- After the WordPress installation, configure basic settings such as your site’s title, tagline, and administrative username/password.
- Keep a record of your login credentials for future access to the WordPress admin dashboard.
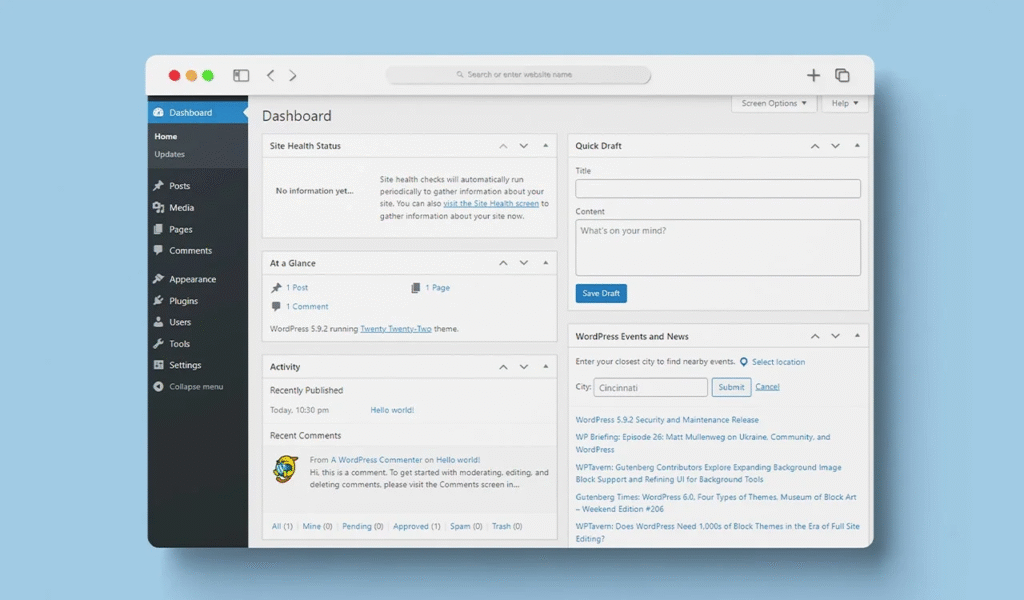
7. Access WordPress Admin Dashboard:
- The WordPress admin dashboard is where you manage your website. Access it by adding “/wp-admin” to your domain (e.g., yourwebsite.com/wp-admin) and entering your login credentials.
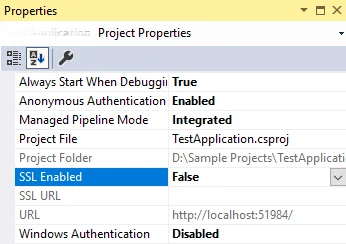
8. Optional: Enable SSL:
- Many hosting providers offer free SSL certificates. Enable SSL to secure your website. Look for this option in your hosting control panel.
Following these steps ensures that your domain is connected to a hosting account with WordPress installed. You can then proceed to customize your website, select a theme, and begin adding content.
2. Installing WordPress:
For Hosting Providers with One-Click Installation:

- Log In to Your Hosting Account:
- Access your hosting account and log in.
- Navigate to the Control Panel:
- Find the “WordPress Installer” in your hosting control panel.
- Choose Your Domain:
- Select the domain for installation.
- Configure Settings:
- Fill in basic site details and admin credentials.
- Install WordPress:
- Click “Install” and wait for completion.
- Access Your Dashboard:
- Use the provided URL to log in to your WordPress admin
For Manual Installation (if needed):
- Download WordPress:
- Get the latest version from WordPress.org.
- Upload Files:
- Extract files and upload them to your hosting via FTP or file manager.
- Create Database:
- Set up a MySQL database and user in your hosting control panel.
- Configure wp-config.php:
- Rename wp-config-sample.php and set up with database details.
- Run Installation:
- Visit your site; the installation script guides you.
- Complete Setup:
- Enter the required info, create an admin account, and click “Install
- WordPress.”
- Access Admin Dashboard:
- Log in to your WordPress admin using the provided credentials.
- Ensure regular updates for WordPress, themes, and plugins for security and performance.
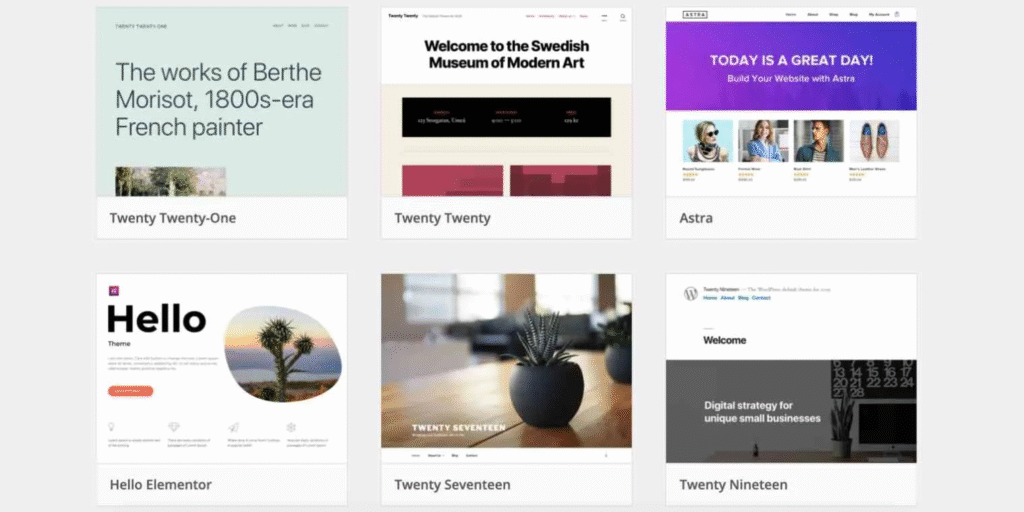
3. Choosing a WordPress Theme:
- Log In to WordPress Dashboard:
- Access your WordPress admin dashboard.
- Navigate to “Appearance” > “Themes”:
- In the sidebar, go to “Appearance” and select “Themes.”
- Explore and Preview:
- Browse themes, use “Feature Filter,” and preview your selection.
- Install and Activate:
- Click “Install” on your chosen theme and confirm by activating it.
- Customize Your Theme:
- Use the “Customizer” under “Appearance” to personalize colors, fonts, and layout.
- Consider Premium Themes:
- Explore premium options for added features and support.
- Ensure Responsiveness:
- Choose a mobile-friendly theme for optimal user experience.
- Test Your Theme:
- Ensure your theme complements your content and website goals.
- Regular Updates:
- Keep your theme updated for security and compatibility. Select a theme that suits your style and enhances your website’s visual appeal.
4. Customize Your Theme:
Customizing Your WordPress Theme:
- Access the WordPress Customizer:
- Log in to your WordPress admin dashboard.
- Navigate to “Appearance” > “Customize”:
- Locate and click on “Customize” in the “Appearance” section.
- Header and Site Identity:
- Personalize your site title and tagline, and upload a logo.
- Colors and Fonts:
- Adjust color schemes and fonts to match your brand or personal style.
- Layout Settings:
- Customize the layout, including the sidebar position and the number of columns.
- Widgets and Menus:
- Modify, add, or rearrange widgets and menus to optimize navigation.
- Background and Images:
- Set a custom background or upload images for visual enhancement.
- Additional CSS (Optional):
- Optionally, add custom CSS code for advanced styling adjustments.
- Preview Changes:
- Continuously preview changes before finalizing to ensure the desired appearance.
- Save and Publish:
- Save your customization settings and publish when satisfied with the changes.
- Mobile Responsiveness:
- Confirm that your adjustments maintain responsiveness across different devices.
Customizing your theme enhances your website’s visual appeal and user experience. Regularly revisit the Customizer to adapt to evolving preferences or branding.
5. Install Essential Plugins:
Installing Essential WordPress Plugins:
- Access the WordPress Dashboard:
Log in to your WordPress admin dashboard. - Navigate to “Plugins” > “Add New”:
In the sidebar, click “Plugins” and then “Add New.” - Search and Install Essential Plugins:
Use the search bar to find plugins like Yoast SEO, W3 Total Cache, UpdraftPlus, and Akismet. Click “Install Now” for each. - Activate Installed Plugins:
After installation, activate the plugins to enable their features. - Configure Plugin Settings:
Visit the plugin settings to customize options according to your
needs. - Optional: Explore Additional Plugins:
Depending on your site, explore and install extra plugins for specific
functionalities. - Regularly Update Plugins:
Keep plugins updated for security and optimal performance. Installing these essential plugins enhances your website’s functionality and security. Regularly review and update plugins for a well-maintained WordPress site.
6. Create Essential Pages:
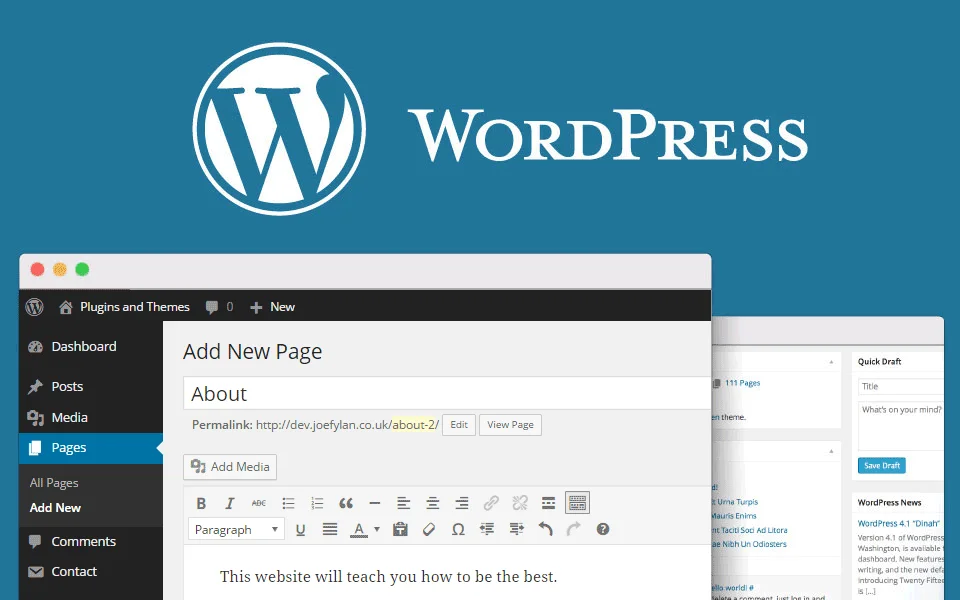
Creating Essential Pages in WordPress:
- Access WordPress Dashboard:
- Log in to your WordPress admin dashboard.
- Go to “Pages” > “Add New”:
- Click “Pages” in the sidebar, then select “Add New.”
- Create Key Pages:
- Craft a home page, an about page, and a contact page.
- Consider Additional Pages:
- Depending on your content, add pages like Services or Portfolio.
- Use Page Builder (Optional):
- Explore a page builder for easy layout customization.
- Publish Pages:
- Click “Publish” to make your pages live.
- Add to Navigation Menu:
- Include pages in the menu for easy access.
- Regular Content Updates:
- Periodically update essential page content to keep information current.
- Establishing these key pages forms a solid foundation for your website, enhancing user experience and providing essential information.
7. Add Content:
Adding Content to Your WordPress Website:
- Access WordPress Dashboard:
- Log in to your WordPress admin dashboard.
- Create New Content:
- For blog posts, go to “Posts” > “Add New.” For static pages, go to
- “Pages” > “Add New.”
- Use WordPress Editor:
- Input text, upload images, and embed media using the editor.
- Format and Style:
- Utilize editor tools for formatting, styling, and structuring content.
- Categories and Tags (For Posts):
- Categorize and tag blog posts for the organization.
- Add Featured Image (Optional):
- Enhance visual appeal with a featured image, especially for blog
- posts.
- Save Draft and Preview:
- Save as a draft and preview before publishing.
- Publish or Update:
- Click “Publish” for new content or “Update” for changes.
- Regular Updates:
- Keep content fresh by updating information and adding new posts.
- Adding content is key to a dynamic and engaging website. Leverage the WordPress editor for a seamless content creation process.
8. Set Up Navigation:
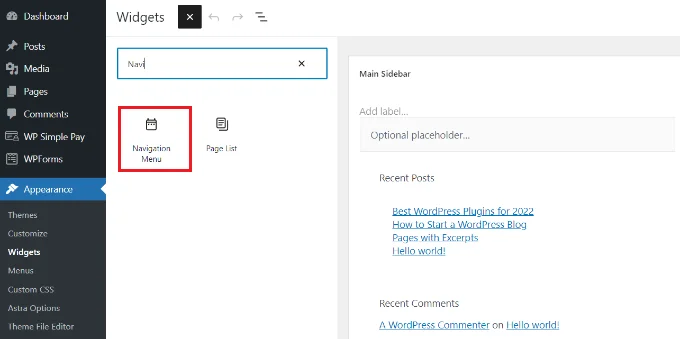
Setting Up Navigation in WordPress:
- Access WordPress Dashboard:
- Log in to your WordPress admin dashboard.
- Go to “Appearance” > “Menus”:
- Click “Appearance” and select “Menus.”
- Create or Select Menu:
- Create a new menu or choose an existing one.
- Add Pages or Links:
- Add pages or custom links to your menu.
- Organize Menu:
- Drag and drop items to arrange them.
- Assign to Location:
- Assign the menu to a specific location, usually the primary navigation.
- Save Menu:
- Click “Save Menu” to apply changes.
- Preview Your Website:
- Visit your site to see the updated navigation.
- Setting up navigation ensures a user-friendly experience on your WordPress website.
9. Optimize for SEO:
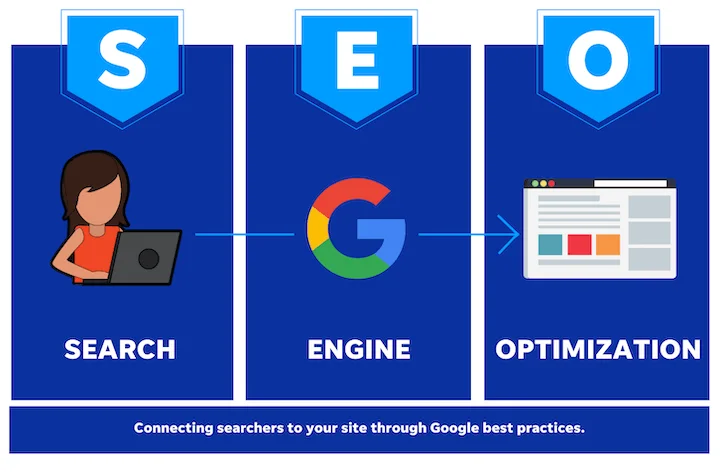
Optimizing for SEO in WordPress:
- Install Yoast SEO Plugin:
- Go to “Plugins” > “Add New” in the WordPress dashboard, and install Yoast SEO.
- Configure Yoast SEO Settings:
- Set up titles, meta descriptions, and other SEO preferences in the Yoast SEO settings.
- Keyword Research:
- Identify relevant keywords using tools like Google Keyword Planner.
- Use SEO-Friendly URLs:
- Create concise, keyword-rich URLs.
- Craft Compelling Meta Tags:
- Write engaging meta titles and descriptions with primary keywords.
- Optimize Images:
- Compress images and add descriptive alt text for improved image SEO.
- Create a Sitemap:
- Ensure your site has an XML sitemap and submit it to Google Search Console.
- Optimize Content:
- Produce high-quality, keyword-rich content focusing on user intent.
- Internal Linking:
- Link relevant pages within your site for improved navigation and SEO.
- Mobile Optimization:
Ensure your site is mobile-friendly for better SEO rankings. - Regular Content Updates:
Keep content current to maintain SEO effectiveness. - Optimizing for SEO boosts your website’s visibility, making it more accessible to search engines and users.
10. Secure Your Website:

Securing Your WordPress Website:
- Keep WordPress Updated:
- Regularly update WordPress for improved security.
- Update Themes and Plugins:
- Keep themes and plugins up to date to address vulnerabilities.
- Use Strong Passwords:
- Employ complex passwords for admin and database access.
- Install a Security Plugin:
- Consider using plugins like Wordfence or Sucuri for added protection.
- Limit Login Attempts:
- Set restrictions on login attempts to thwart brute-force attacks.
- Enable Two-Factor Authentication:
- Add an extra layer of security with two-factor authentication.
- Backup Your Website:
- Regularly back up your site for data recovery in case of security issues.
- Monitor User Permissions:
- Review and restrict user permissions to prevent unauthorized access.
- Change Default Login URL:
- Deter automated attacks by changing the default login URL.
- Implement SSL Encryption:
- Enable SSL for encrypted data transmission.
- Regular Security Audits:
- Conduct routine audits to identify and address potential vulnerabilities.
- Securing your WordPress site ensures a safe and reliable online presence.
11. Test and Launch:
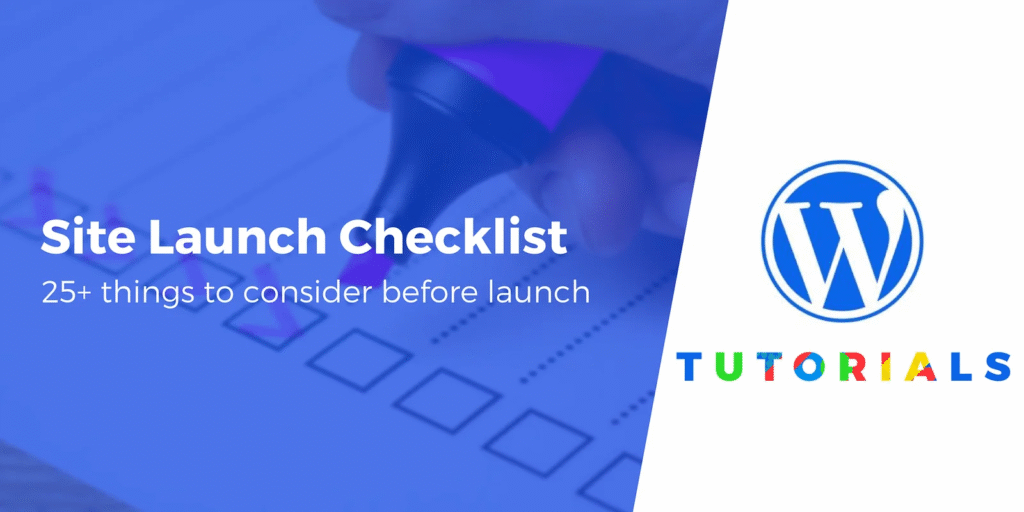
Testing and Launching Your WordPress Website:
- Preview and Test:
- Check layout, responsiveness, and functionality before launch.
- Cross-Browser Compatibility:
- Ensure your site works well on various browsers.
- Mobile Responsiveness:
- Confirm mobile-friendliness on different devices.
- Check Links and Navigation:
- Test all links and navigation for a smooth user experience.
- Forms and Interactivity:
- Verify forms, buttons, and interactive elements for proper functionality.
- Optimize Page Speed:
- Use tools like Google PageSpeed Insights for faster loading times.
- SEO Check:
- Confirm SEO settings, including meta tags and descriptions.
- Content Accuracy:
- Review and proofread content for accuracy.
- Secure Website Check:
- Ensure security measures and SSL are in place.
- Backup Your Website:
Take a final backup as a precaution. - Launch Your Website:
Once testing is satisfactory, launch your WordPress site. - Monitor Post-Launch:
Keep an eye on performance and address any post-launch issues promptly. - Thorough testing ensures a smooth and error-free launch of your WordPress website.
12. Regular Maintenance:
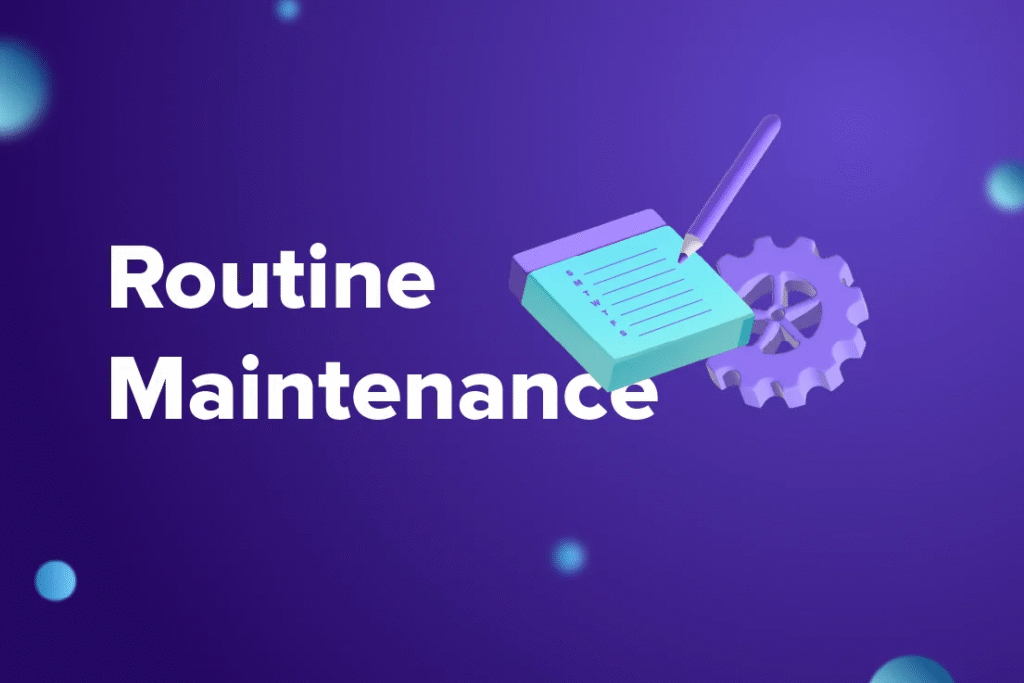
Regular Maintenance for Your WordPress Website:
- Update WordPress Core:
- Keep WordPress up to date for security and performance enhancements.
- Update Themes and Plugins:
- Regularly update themes and plugins to address vulnerabilities.
- Back-Up Your Website:
- Perform regular backups to safeguard against data loss.
- Check and Optimize Database:
- Use plugins like WP-Optimize to enhance database performance.
- Monitor Security:
- Scan for malware and monitor security logs for potential threats.
- Review User Permissions:
- Periodically review and adjust user permissions for a secure environment.
- Optimize Images:
- Enhance website speed by optimizing and compressing images.
- Review and Update Content:
- Keep content relevant and up to date, removing outdated information.
- Test Website Speed:
- Use tools like Google PageSpeed Insights for quick site loading.
- Check Broken Links:
- Scan for and fix broken links to maintain a positive user experience.
- Renew SSL Certificate (if applicable):
- Ensure your SSL certificate is current for secure data transmission.
- Stay Informed:
- Stay updated on industry trends, WordPress updates, and security best practices.
- Routine maintenance ensures the ongoing health, security, and optimal performance of your WordPress website.